In Kenya it is an obligation of each individual in possession of KRA pin to file returns of the previous year before 30th June of the following year.
It is important to note that individuals who fail to declare their income risk attracting hefty penalty.
Read also: How to fill KRA Individual Tax Returns online using P9 Form through iTax portal
Be in the know that late filing of individuals tax returns will attract a penalty of Kshs. 2,000 as stipulated in the 2018 Finance Act.
Persons who are employed use P9 forms to declare their income. P9 form provided to them by their employers.
Read also: How to download and print TSC P9 form online via Payslip portal
What is Nil Returns
Filing KRA Nil Returns applies to individuals who do not have a source of income in most cases they are referred to as the unemployed.
Nil returns can also be filed by individuals whose monthly income does not meet the threshold of being taxed. University students and college students are among individuals who are required to file nil returns.
Requirements for filing KRA Nil Returns
Before we proceed with procedure on how to file nil returns lets first get to know requirements that are needed. Ensure that you have these two items with you:
- Your KRA PIN Number
- Your KRA iTax Password
KRA PIN Number
This the most fundamental requirement for the process of filing KRA returns to kick off. This pin can be obtained from your KRA certificate. Its an alphanumerical (consisting of both letters and numbers) pin.
iTax Password
This will enable you to log in to your iTax portal. It is worth noting that in case you do not remember your iTax password, you can reset it by clicking on Forgot Password/Unlock Account, solve the security stamp question and then click on submit.
Your new password will be sent to the email that you used during registration of KRA.
Step-by-Step How to File KRA Nil Returns
Step 1: Login to your iTax portal by clicking this link https://itax.kra.go.ke/KRA-Portal/. Enter you KRA alphanumeric Pin then click continue.
Enter your Password, solve the Security Stamp sum and then click on login. You are now logged in your KRA iTax portal dashboard.
Step 2: While in your iTax portal hover the cursor around the Returns and then click on File Nil return on drop down menu as shown below.

Step 3: Select Tax Obligation as Income Tax – Resident Individual as shown below then tap on Next.

Step 4: Here you select the return period. The return period (01/01/2019 to 31/12/2019) automatically autofills by itself as shown below.

Click on the submit button to proceed.
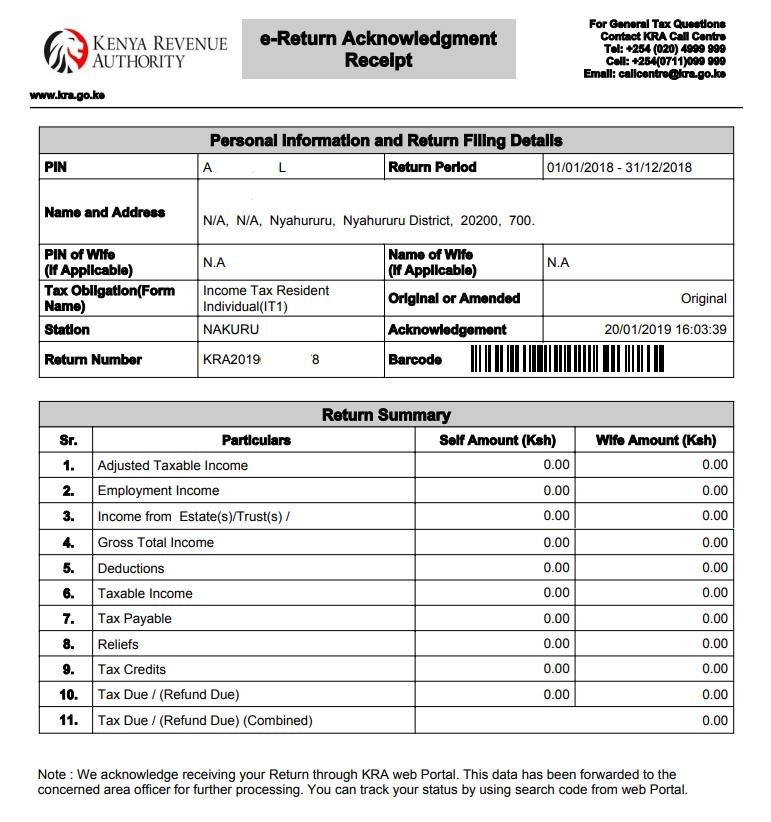
Step 5: On clicking submit button, the next thing is to download KRA Nil Returns Receipt.

Here is a sample of downloaded KRA Nil Return Receipt:

courtesy of cyber.co.ke


